July & August Favorites

Long time, no see. I know I shouldn't create excuses, but there are a few... Such as: Cosmetology school, got married, went to Jamaica, moved to a different state, and got a new job in a salon.

I am back now, and I hope to be motivated to keep up with the blog and YouTube! Fingers crossed.

July & August. I can't believe summer is almost over. Although NC had a semi-cool summer, I am very excited for fall and winter weather. Blankets, hot chocolate, cute boots, and comfy scarfs. Can. Not. Wait.

This past month I rediscovered products I had hidden away, and I'm glad I pulled out the box of "Maybe I'll use later products." I also picked up a few from Ulta, Trader Joe's, Walmart, and my local hair shop.

Urban Decay Naked 2. I use this product on the daily. Super easy to change up your eye makeup without even thinking about it. All the colors go well with each other. Pretty fool proof. 

Bacon Chocolate Chip Cookies


I've had these cookies on my mind for sometime now. I believe I saw them in a Food Network magazine. They looked oh-so amazing with their yumminess of chocolate and bacon. Let me tell you, they were AMAZING. MmmmMmMMmmMmmm.
Just thinking about them now make my mouth water. Bacon + Chocolate = Heaven 


News Paper Nails How-to

 I'm like obsessed with doing my nails. Obsessed doesn't even seem strong enough. I love having my nails painting and doing different designs. The other day, I was lookin' around the internets and I found a picture of News Paper Nails. I just HAD to try it for myself! So, I did and I also took pictures! 

Here's how to do it. :)


Bow Nails Tutorial


What's more girly than bows? Um, nothing! I saw this done on beautylish and I thought I'd give it a go. It's so cute, fun and easy!

Paint your nails any color you'd like. I went with pink because it's my favorite color. This color is Something Sweet by China Glaze.

Next, with a darker pink (or any color you choose.) Draw tiny triangles with the tips touching each other. Mine is a bit messy. I had shaky hands today! This color is Shocking Pink by China Glaze.


Classic Smokey Eye How To


One of my favorite eye looks is a classic smokey eye. I think it look great on just about anyone. Today, I'm going to give you a step by step guide on how to create your own classic smokey eye!

 Apply the darker eyeshadow to lower lash line, making the line as thick or thin as you like.  Put the lighter color in the tear duct area. Blend well.

Makeup trend 2011 - Bright eyeshadow

There are so many good makeup trends out this year, but I think my favorite of them all is bright neon eyeshadows. Although, I probably wont wear this trend much ( I'm more of an natural kinda girl.) I thought I would try it out and take pictures as I went. :)

Super super easy. I only used 2 eyeshadows and mascara. 


Step 1. Take any bright color, I chose pink 'cause it's my favorite color. Place it on your lid and try not to go to high with it. Blend out any harsh lines.

Step 2. Take a light gold color and line your lower lash line and tear duct area.

Lastly, curl your eyelashes and add mascara. :) I told you it was super easy!


Cinnamon Roll Muffins


I don't know about you, but nothing sounds better on a cold rainy day than a hot gooey cinnamon roll. I was sitting around itching from the baking bug, so I decided to make cinnamon rolls. (I don't have a good pan to bake them on, so I had to use a muffin tin.) I looked online through tons of recipes and couldn't really find one I liked, I then decided to find a good one and tweak it to my likin'. :)


How I made these lovelies:


(This recipe isn't 100% my own, I took this recipe from Cooks.com and changed up a few things.)


Ingredients: 


1 1/2 cup bisquick mix. 
1/4 cup sugar
1/4 cup packed brown sugar 
1/2 tsp ground cinnamon
2/3 cup of milk 
1 tsp of vanilla extract 
1 large egg

For topping:


3/4 cup brown sugar
1 tsp ground cinnamon 
2 tbsp butter/margarine 


Icing:


1 cup powdered sugar
2 tbsp milk


Preheat oven to 350°
In a bowl, mix all the ingredients together. Starting with the dry and ending with the egg. Mix until smooth. Pour into greased/lined muffin tin. 
Mix together brown sugar, cinnamon and butter using fork until well blended. Sprinkle evenly on top of muffin batter.
Bake for 15 to 20 minutes, until tops are slightly browned.
Mix powdered sugar and milk together and drizzle on top.


Note: The topping might sink into the middle and create a yummy filling. Feel free to add more topping if you'd like! 


Enjoy your warm cinnamon roll muffin!!

Homemade Coffee Face Mask and Scrub

I'm such a girly girl when it comes to anything beauty. I love makeup, good smellin' soaps and anything skin care related. I've come to a realization that these things aren't cheap, so I've decided to DIY!


I searched the interwebs for homemade face masks, I didn't have ingredients for most of 'em, but then I found a one that just called for coffee and milk. (Which I always have in my house!)


Coffee has loads of anti-oxidants which helps fix damaged cells. It also helps fight aging! 
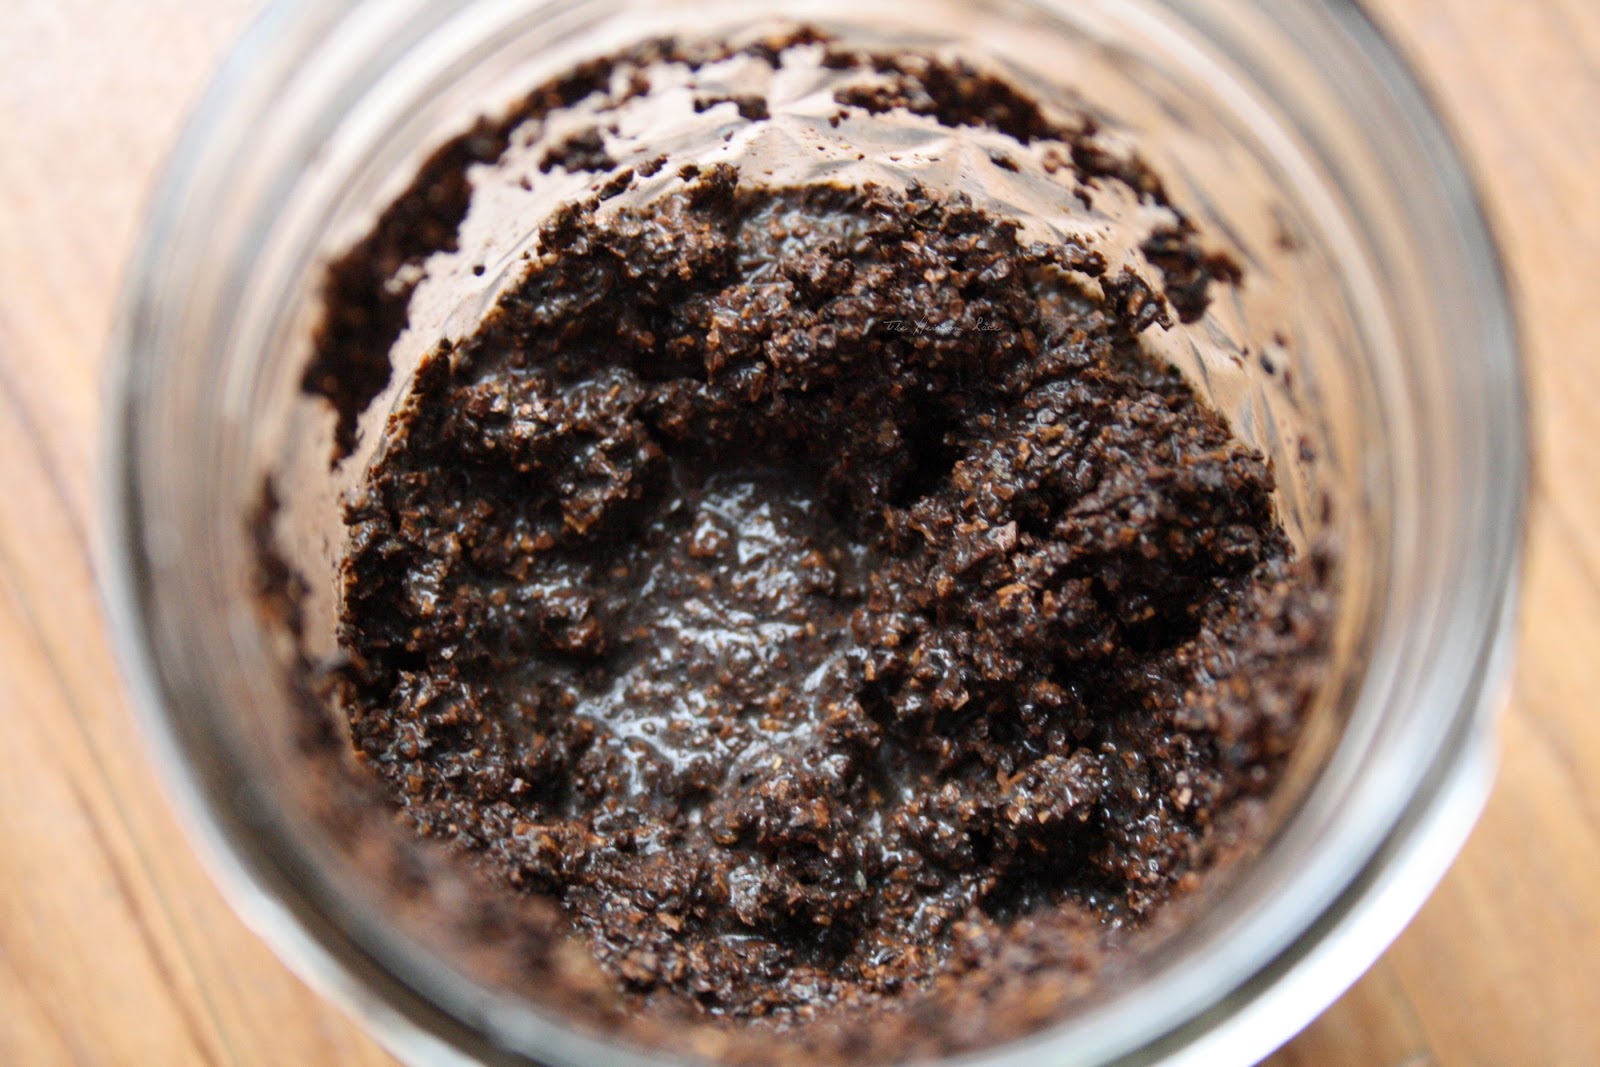
Take about 1/4 of a cup, or how ever much you think you might need.

Add a bit of milk until it becomes a thick paste.

Looks tasty, eh? ;)

Grab handfuls and gently press on your face until it looks like this:
EEK! Leave on for about 20 minutes. 

To remove, run some warm water in the sink and splash on face. (Just like you would if you were washing your face.) Rub gently in a circular motion to use the coffee grounds as an exfoliant! Easy as pie!

It left my skin feeling oh-so-soft and also gave my skin a bit of a glow! 


Homemade Biscuits


I am such a huge fan of biscuits. At one sitting, I could probably eat 3 or 4 (more like 10.) Of course, I wouldn’t allow myself to, but I could!

I haven’t made homemade biscuits that didn’t include bisquick, but over spring break I decided to give it a try using this recipe from allrecipes.com:

  • 2 cups all-purpose flour
  • 4 teaspoons baking powder
  • 3 teaspoons sugar
  • 1/2 teaspoon salt
  • 1/2 cup shortening/butter
  • 1 egg
  • 2/3 cup milk

Directions

  1. In a small bowl, combine the flour, baking powder, sugar and salt. Cut in shortening until the mixture resembles coarse crumbs. Beat egg with milk; stir into dry ingredients just until moistened.
  2. Turn onto a well-floured surface; knead 20 times. Roll to 3/4-in. thickness; cut with a floured 2-1/2-in. biscuit cutter. Place on a lightly greased baking sheet. Bake at 450 degrees F for 8-10 minutes or until golden brown. Serve warm.
So tasty!

Inspired Tuesday

 I can't believe it's already Tuesday. This past weekend/Monday went by so fast and I’m sure this week will also. Right now, I’m having a hard time motivating myself to get going. I have tons to do today, such as: cleaning, going to the laundromat and packing.  So, I thought some “Inspired Tuesday” would help me get the move on!

This picture is so amazing. I’m tempted to make some patchwork curtians.
I will have a coffee/tea station at my wedding!
I love all these colors. I think I’m feelin’ a bite from the crocheting bug.
I love love love these! I might have to make myself some!
No better way to drink sweet tea.
For my love.

And last, but not least:
Sweet guinea pigs. So fat and cute!

I hope this post inspired you as much as it inspired me!

Owl Pillow


Now that spring break is over and I’m back at my humble abode, I’m ready to start posting lots! (I’ve also created a youtube channel, which I’ll start posting on as well.)
Back in January, I sewed together this little pillow. I mean’t to post about it, but it kept on slippin’ my mind.

It’s super easy to make your own pillows and instead of paying $10 – $20 dollars for one, I payed about $3.00. Plus, it’s homemade. ;)
Next month I’ll be moving, so I plan on making a few more to amp up the new place!

Homemade Egg Drop Soup

The other day, I felt like making something "homemade." We don't have much in our fridge at the moment, so I looked through my ingredients and decided to make egg drop soup. I've never been a huge fan of this soup, but lately I've been in love with eggs. So, I thought I'd give it another try. Now, I am in love.
It's super duper easy to make! I didn't have ginger or green onions, so I left them out. I plan on remaking this once I pick those up.

Here is the recipe.  I got it from the FoodNetwork.com

Ingredients

  • 4 cups prepared chicken stock, plus 2 tablespoons
  • 1/2 teaspoon grated fresh ginger
  • 1 tablespoon soy sauce
  • 1 tablespoon cornstarch
  • 2 eggs, lightly beaten
  • 2 green onions, chopped, including ends
  • Salt and white pepper, to taste

Directions

Bring soup stock, grated ginger and soy sauce to a boil. In a small cup, make a slurry by combining the cornstarch and 2 tablespoons of chicken stock. Stir until dissolved. Slowly pour in the cornstarch mixture while stirring the stock, until thickened. Reduce heat to a simmer. Pour in the eggs slowly while stirring the soup in the same direction. The egg will spread and feather. Turn off the heat and add the green onions. Season with salt and pepper, and serve 

Flowers and stripe nails

Spring is almost here!  Honestly, I'm a HUGE Winter fan and it's my favorite season, but it does get a bit depressing. I want some sunshine and warmer weather! My "perfect" weather would be 64 degrees, cloudy and breezy.

I was inspired to do my nails by this picture:
So so so cute! I don't know who's picture this is. If you know, please tell me!


Now, here's mine:
Not as cute, but I'm still in love. I don't have a very steady hand, so it's a bit messy.


I'm not claiming to be the best, I just love painting my nails!

Colors used:
China Glaze - Refresh Mint
China Glaze - Something Sweet
LA Colors Art Deco - Baby Pink, White and Bright Green

Braided up-do hair tutorial

Hey y'all! The other day I did this hair style and a few people asked how it was done, so I thought I would make a picture tutorial!

It's fairly easy. Just a bun and some braids!

Step 1. Take your fingers in an L shape

Step 2. Put your thumbs behind your ears and pull your hair into a half pony tail.

Half up, half down.

Step 3. Take the rest of your hair and braid each side.

Pippi Longstocking!

Step 4. Take down the hair you originally had up and fix it into a nice bun or ponytail. 

Last, but not least, pull your braids across your head and pin them into place!

You can pull a few pieces down to frame your face. :)

Tada! Simple and cute!

Coffee Cozy

I finally did it! I finally made my first crochet something! I admit, I had to start over and over. I originally was using dark red yarn, but I messed up so many times and I wanted to give up.. I decided to go with pink to brighten things up. :)

I am so beyond excited. I made a coffee cozy! I've looked at millions of these and I've always wanted one of my own. Finally I have one! (That I made!) Can't you tell I'm excited?

I plan on making many more and plus practicing different stitches. I can't wait to go beyond a single crochet stitch. :)

-Britt

My week in photos

The last few days of this week have went by slow for me. Maybe it's because my boy has been working nights or maybe it's because I need some new hobbies. I did, however, take a few pictures of things that went on.

I made homemade blueberry and peach smoothies. They were so good. I plan on making them again soon! I used almond milk (because I'm lactose intolerant) and it turned out really well! I could drink these everyday. :)

Snow, snow, snow and snow! We've been getting tons of it here the past couple of months. It's a bit of a culture shock since I grew up in the South and we rarely got snow, but I love it nonetheless. 

Little sweet kitten prints.

My little muffins in their bag I sewed for them. 

And now, it ends with this: 
Chocolate raspberry delight and crocheting. I still have a little over 2 hours before my boy comes home. Maybe I'll put on a movie? Maybe I'll watch a reality show? Or maybe I'll catch up on reading my blogs... So many choices! 

What do you like to do on your free time?